
How-to: Create Clean Lines when Caulking

HELLO FRIENDS
Let’s learn how to use dark caulking for a shower!
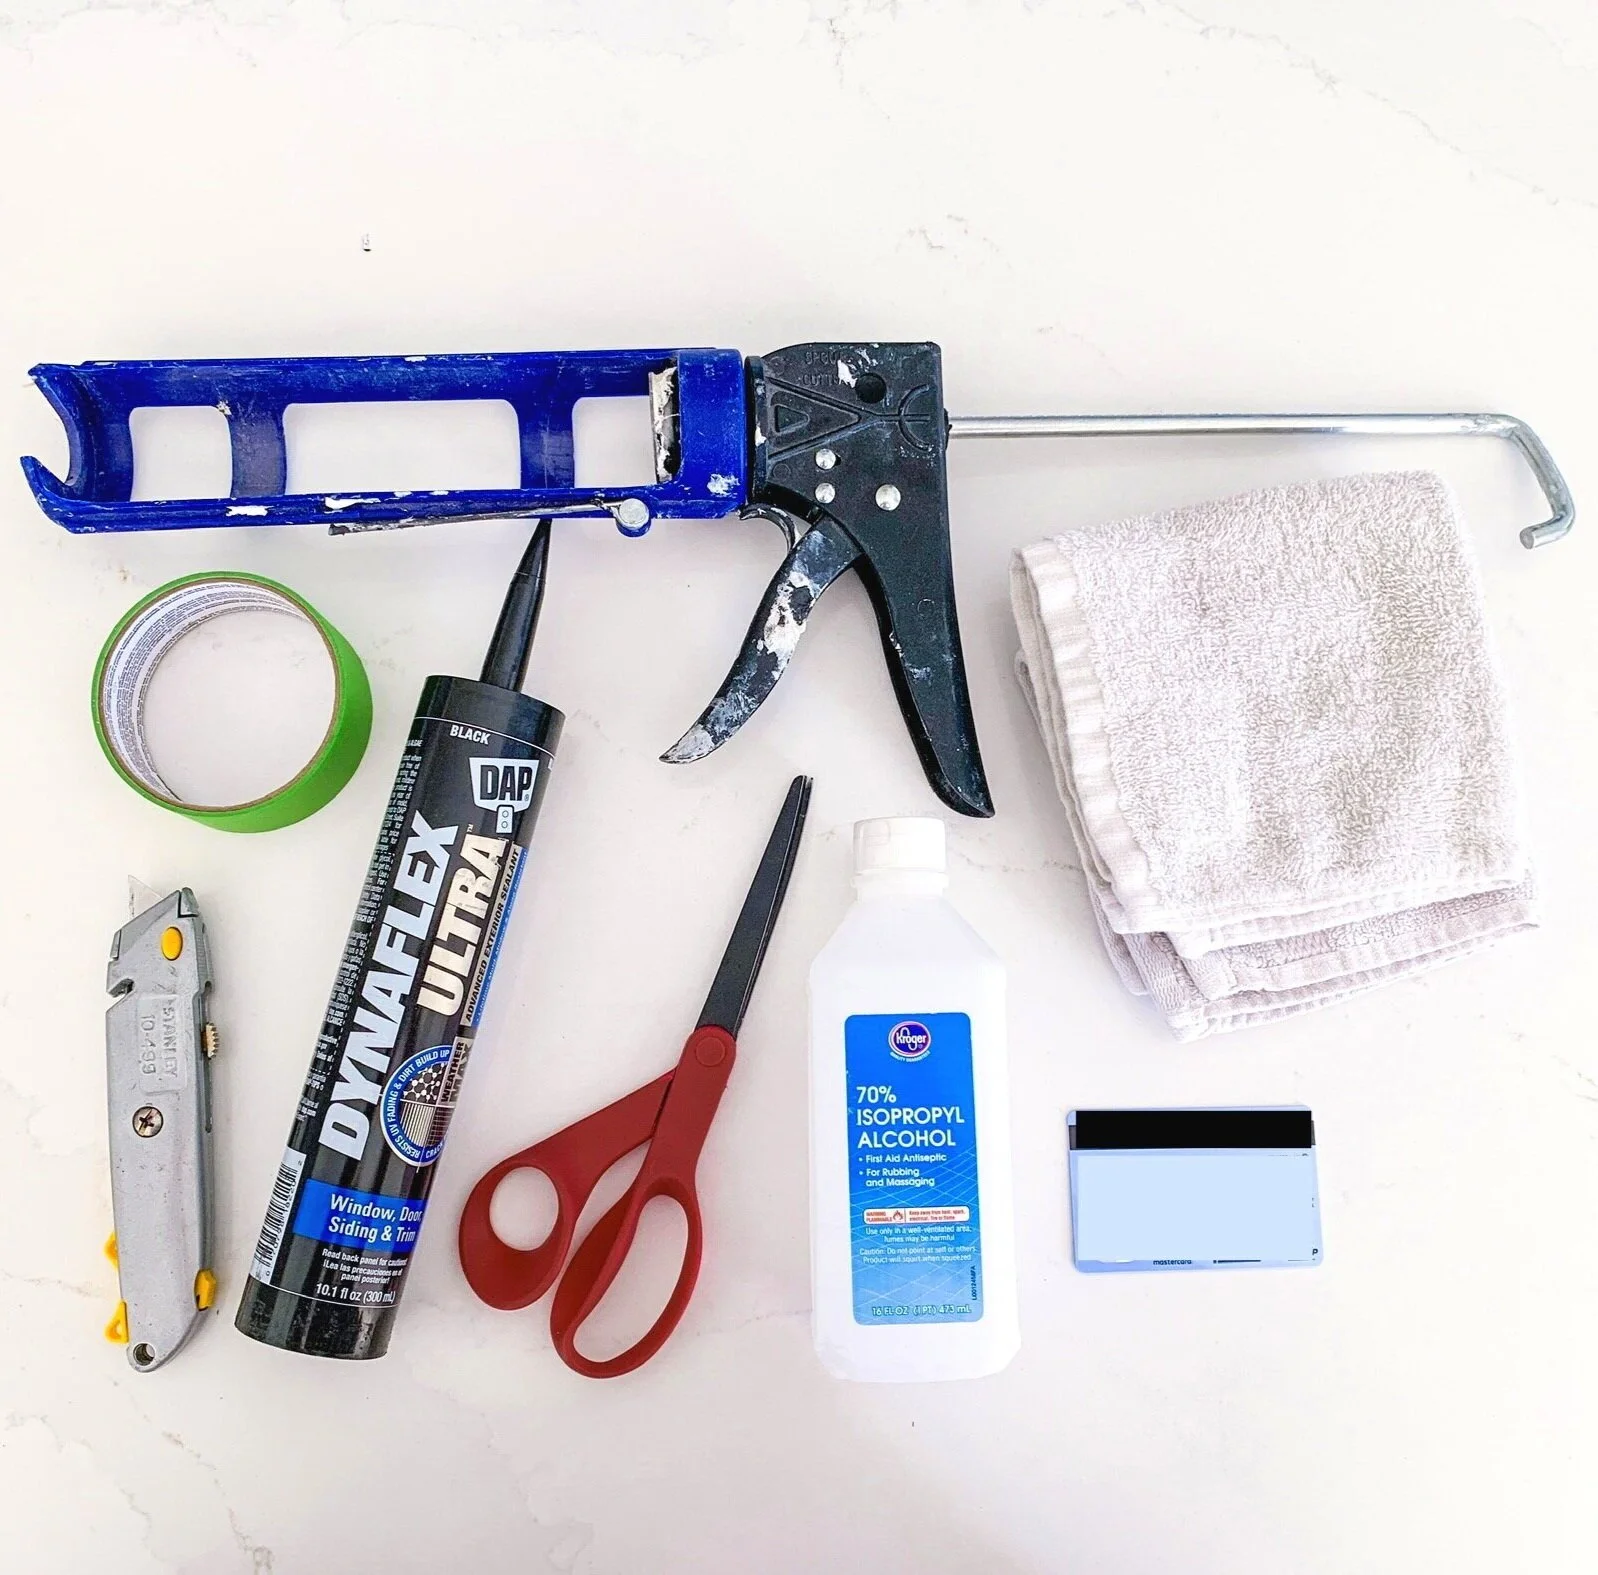
1. gather supplies
(Click on the list of items below to be directed to specific products used for this project)
Caulking (black used for this project)
Utility Knife (with fresh razor blade)
Caulking Removal Tool (optional)
Rubbing Alcohol (brand varies upon availability)
Credit Card (optional)
Patience (make sure you have enough!)

2. bye-bye old caulking
Lay one towel over the drain to avoid any debris going down.
Insert the utility knife between the caulking and surface area, then drag down while applying pressure (be careful, the blade is sharp).
Repeat for both sides of the caulking so that the edges are loosened against the surfaces (You may need to go over it multiple times).
Tip: Use the removal tool to scrape and pull out old caulking .

3. Prep the area for landing
Vacuum or sweep away old caulking making sure there is none remaining. After clearing the area of debris, wipe down where new caulking will go with rubbing alcohol to ensure a fresh and clean start.
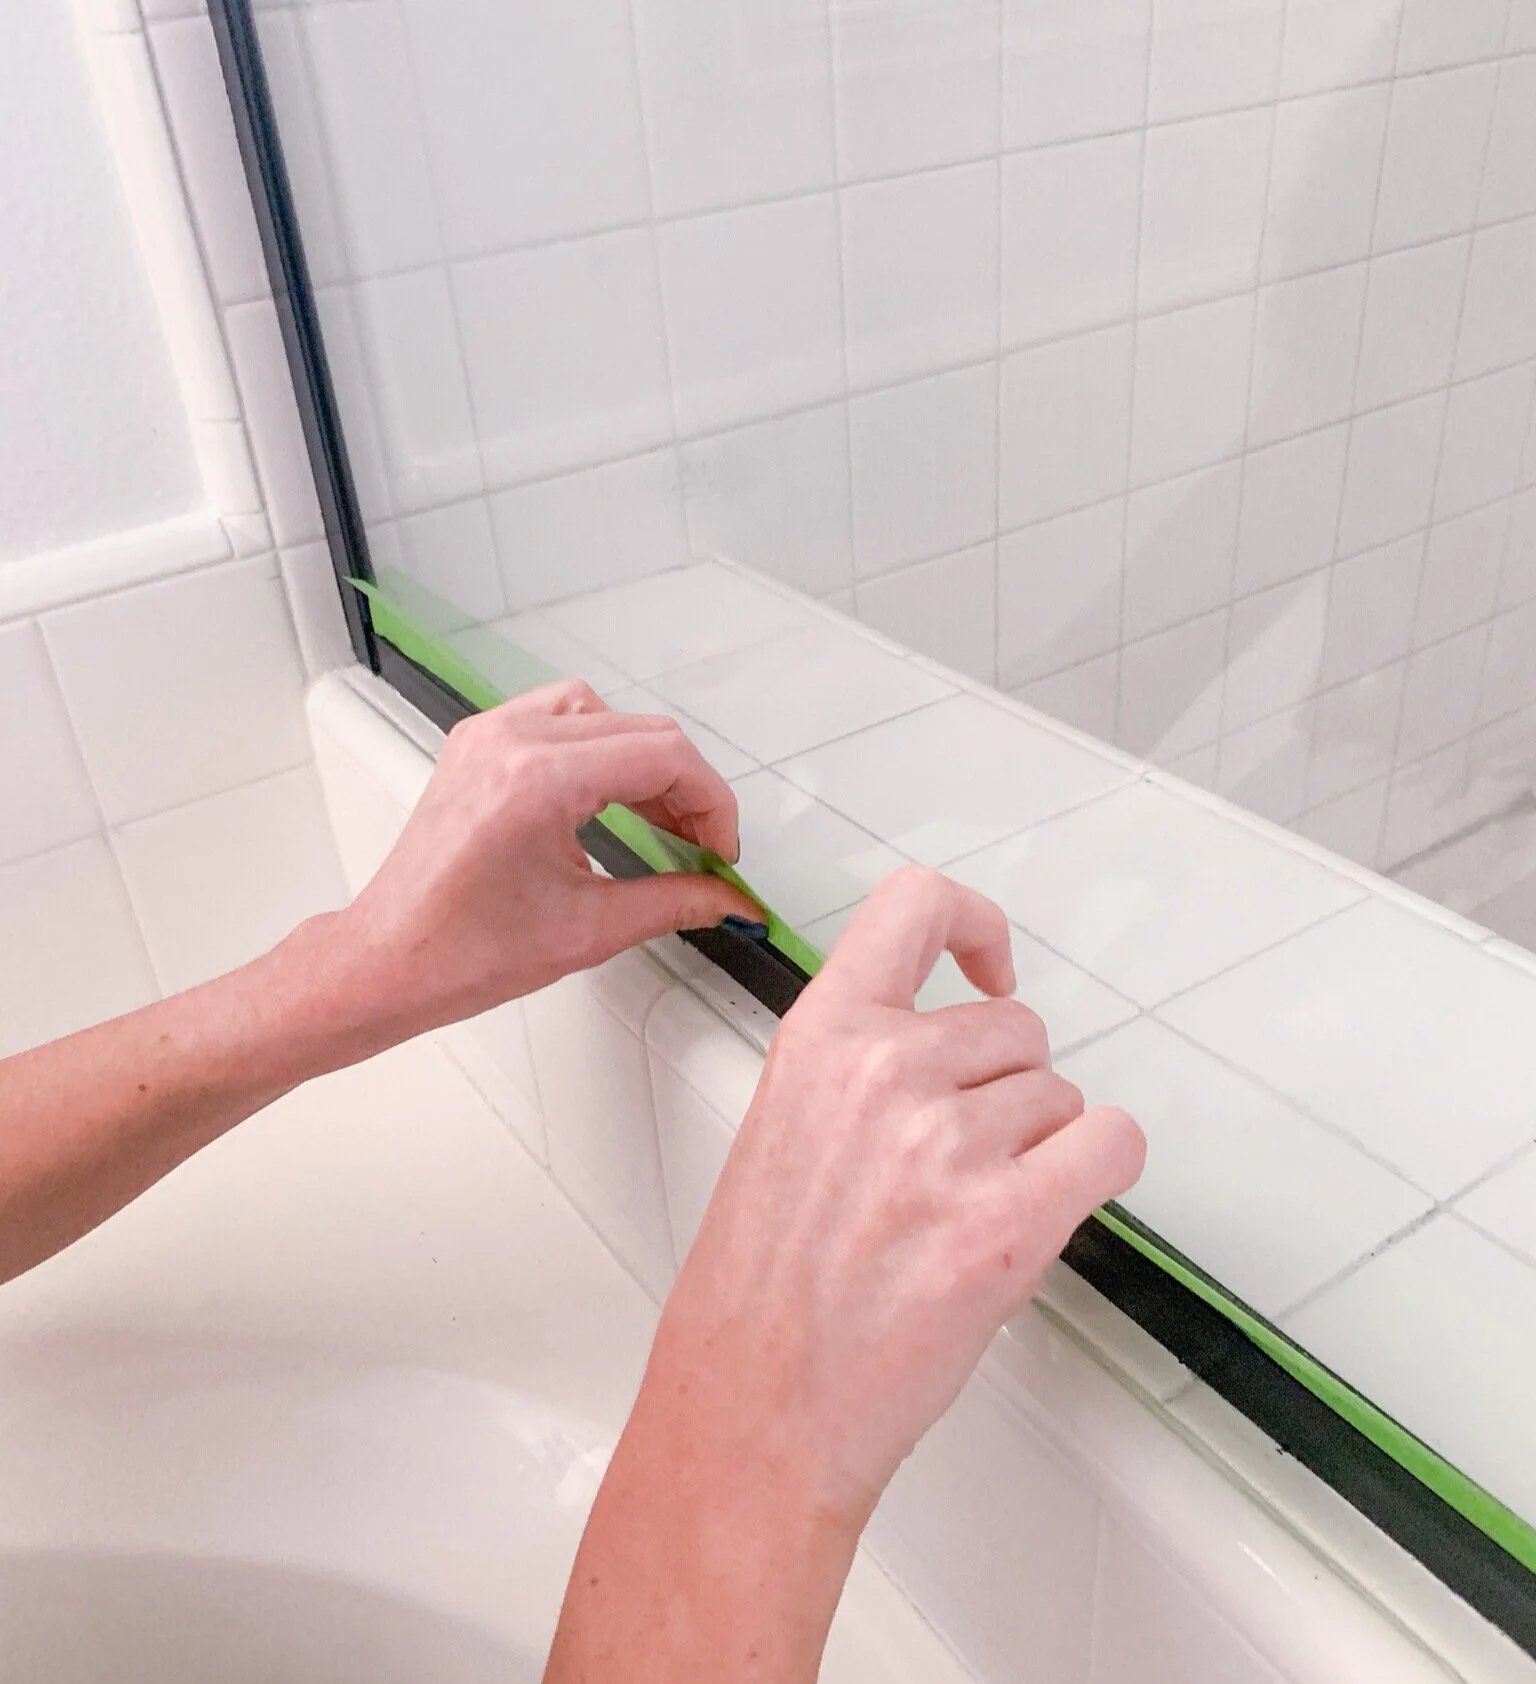
4. lay your tape
Begin by placing the end of the tape into the corner of the area to be caulked, pressing down firmly. While doing so, stretch the roll parallel to the crease you will be caulking, allowing a gap between the crease and tape of about an 1/8 inch.
Tip 1: The space between the edges of the tape on either side of the crease should total the width of a pencil.
Tip 2: To ensure a tight seal between tape and surface, run a credit card across with some pressure. Then, double check by running your fingers over it.

5. GET YOUR GUN READY
Using the caulking gun, locate the spout cutter, and cut the tip of the tube to your liking (start small, you can always cut a larger hole) .
Insert the spout cleaner into the tip of the tube to pierce the inner seal.
Load your gun by inserting the the caulking tube into the gun, then secure the metal plunger and pump trigger until caulking begins to flow.

6. caulk away
Starting at the corner, apply medium pressure to the trigger and move along the crease without stopping for an even bead.
Tip: Hold the gun straight/upright with one hand toward the front for better control. (I lowered the gun here to show you what the bead looked like)

7. smooth move
Using your index finger, drag it across the top of the bead without stopping from end to end, for a smooth finish.
Look over your work for any areas that need a second finger wipe, additional caulking or even debris that may have landed. This is the time to make any corrections needed.
Tip: Dampen one of your towels and use it for wiping your finger and cleaning the tip of the gun when needed.

8.see ya, tape.
After applying the caulking, while it is still wet, In a quick and careful manner, peel back the tape in a straight-forward motion.

9. celebrate with pride
Allow the time specified by label instructions on caulking for it to dry properly.
Pat yourself on the back! You did it. It was quite a journey, and you made it through… until next time!